Installation & Setup
Solex installation, float level, altitude tuning, and throttle body setup.
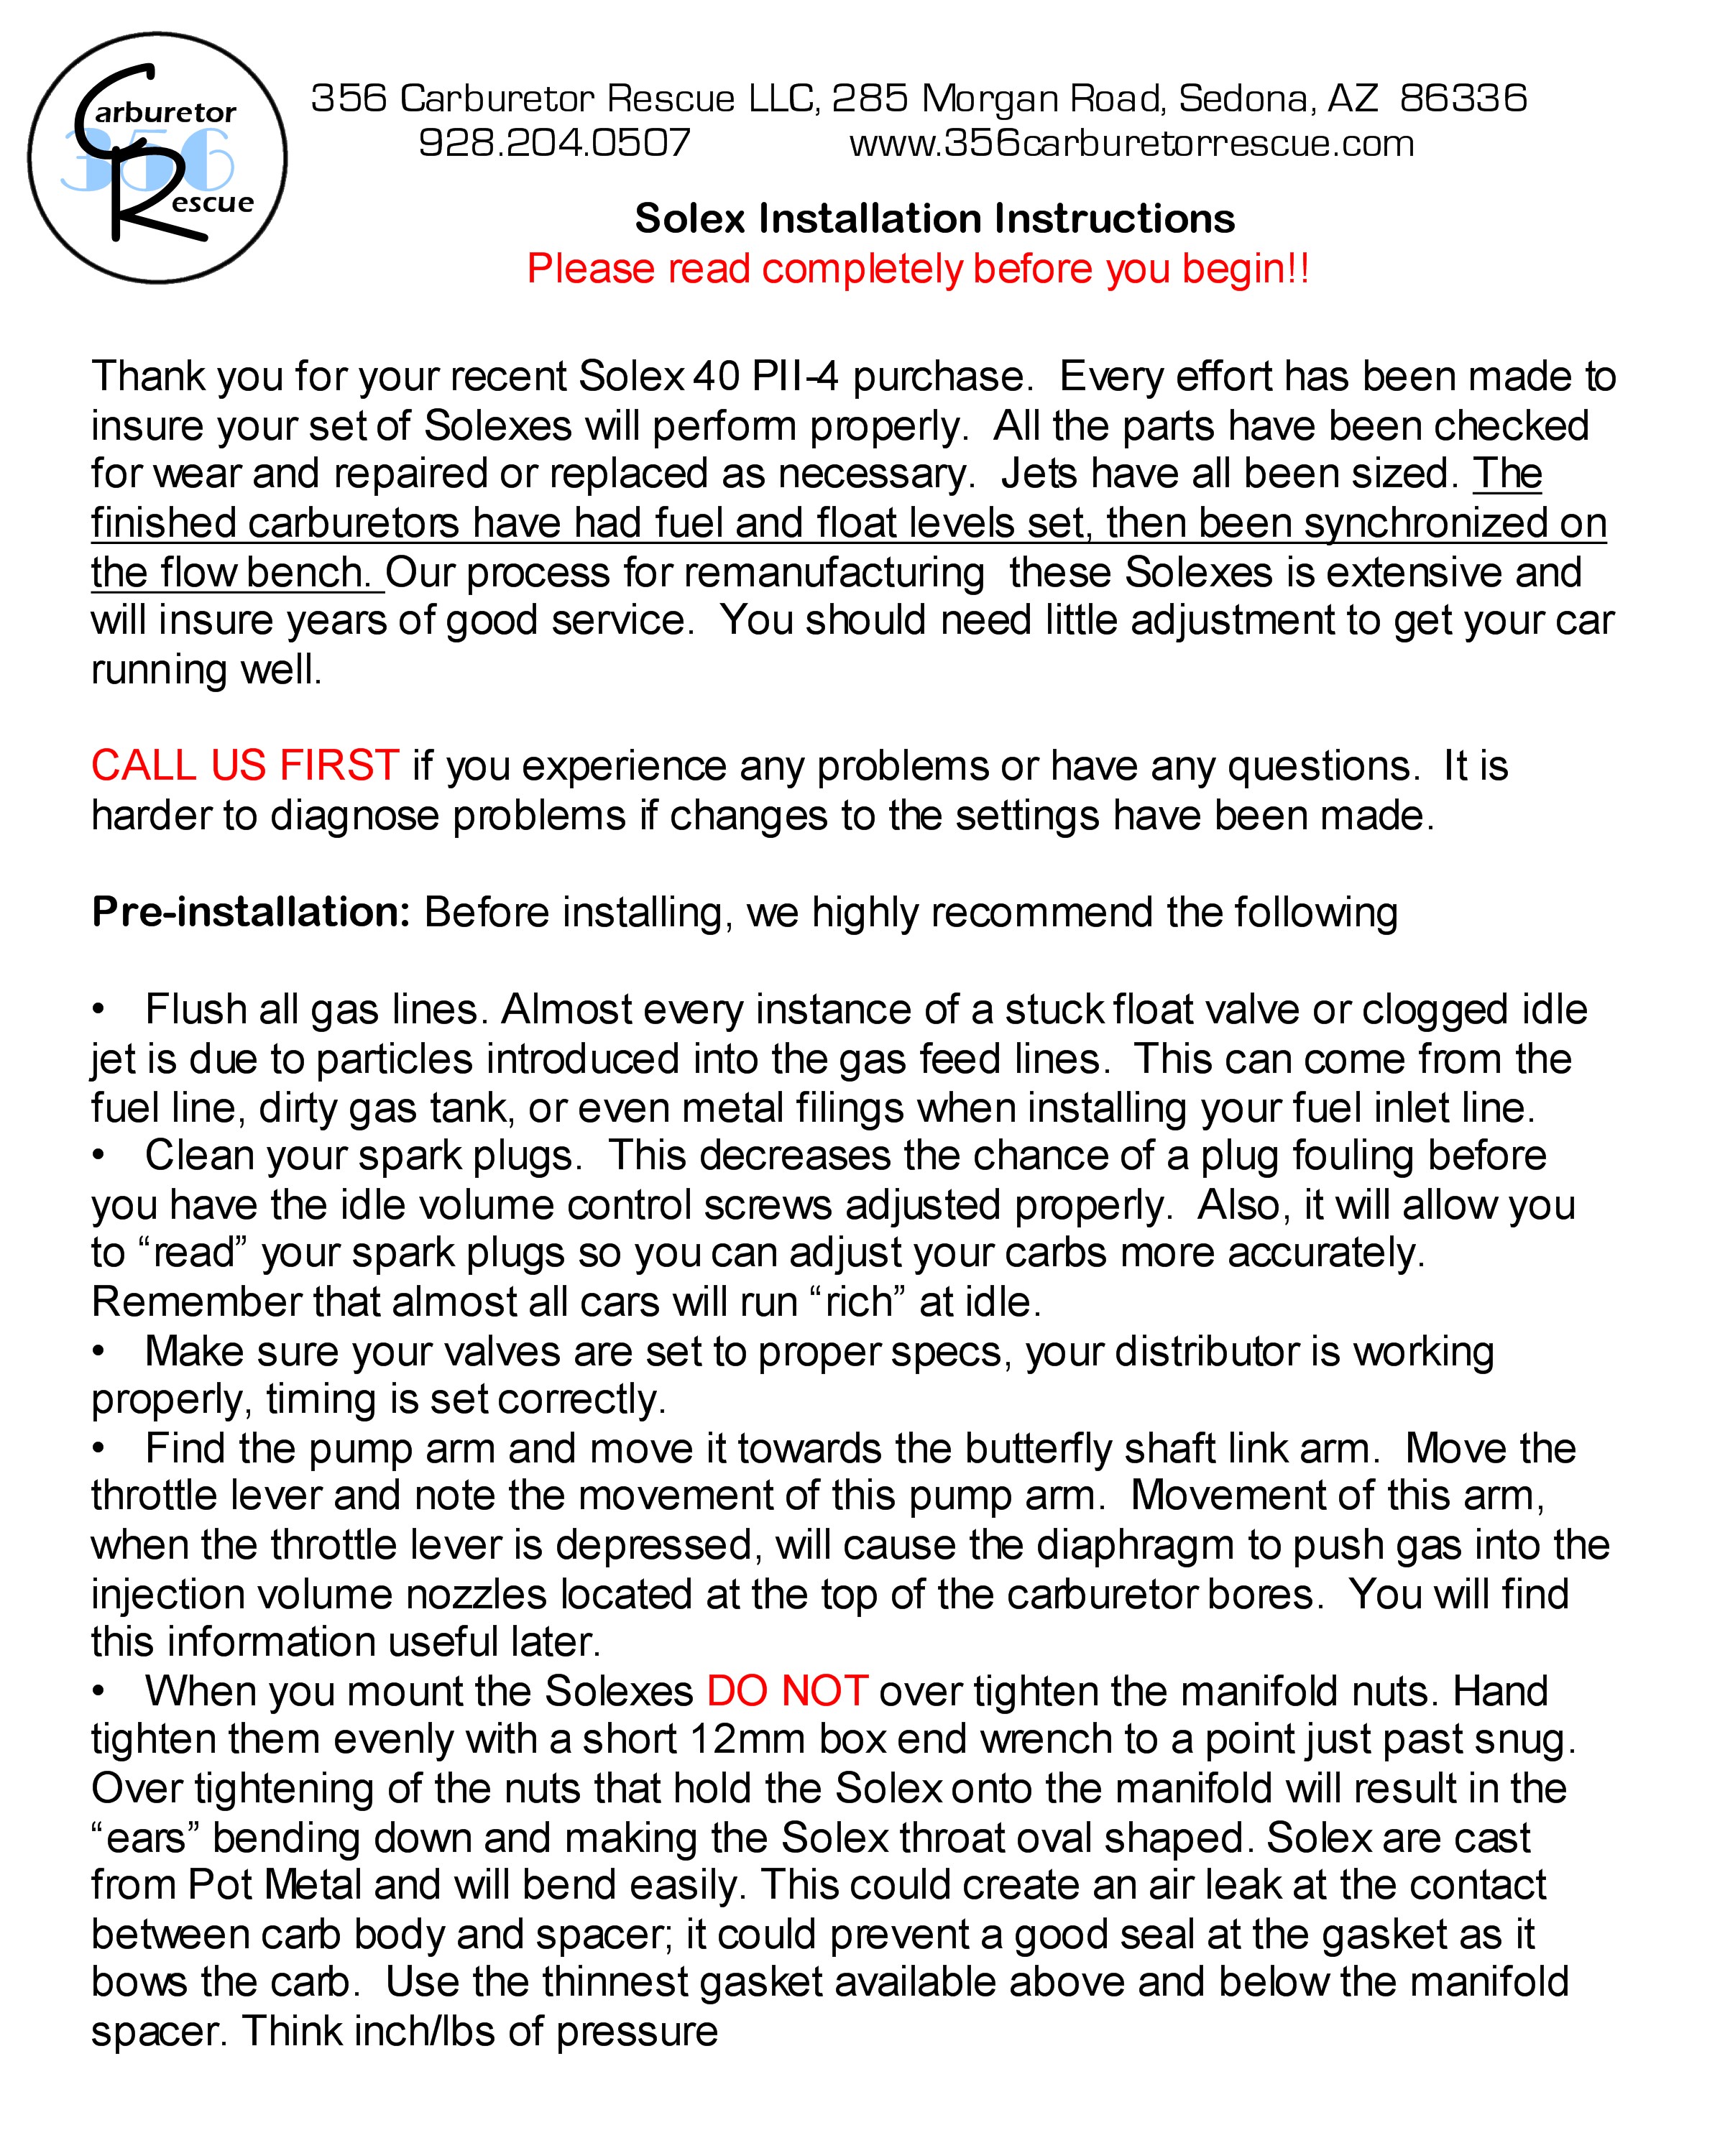
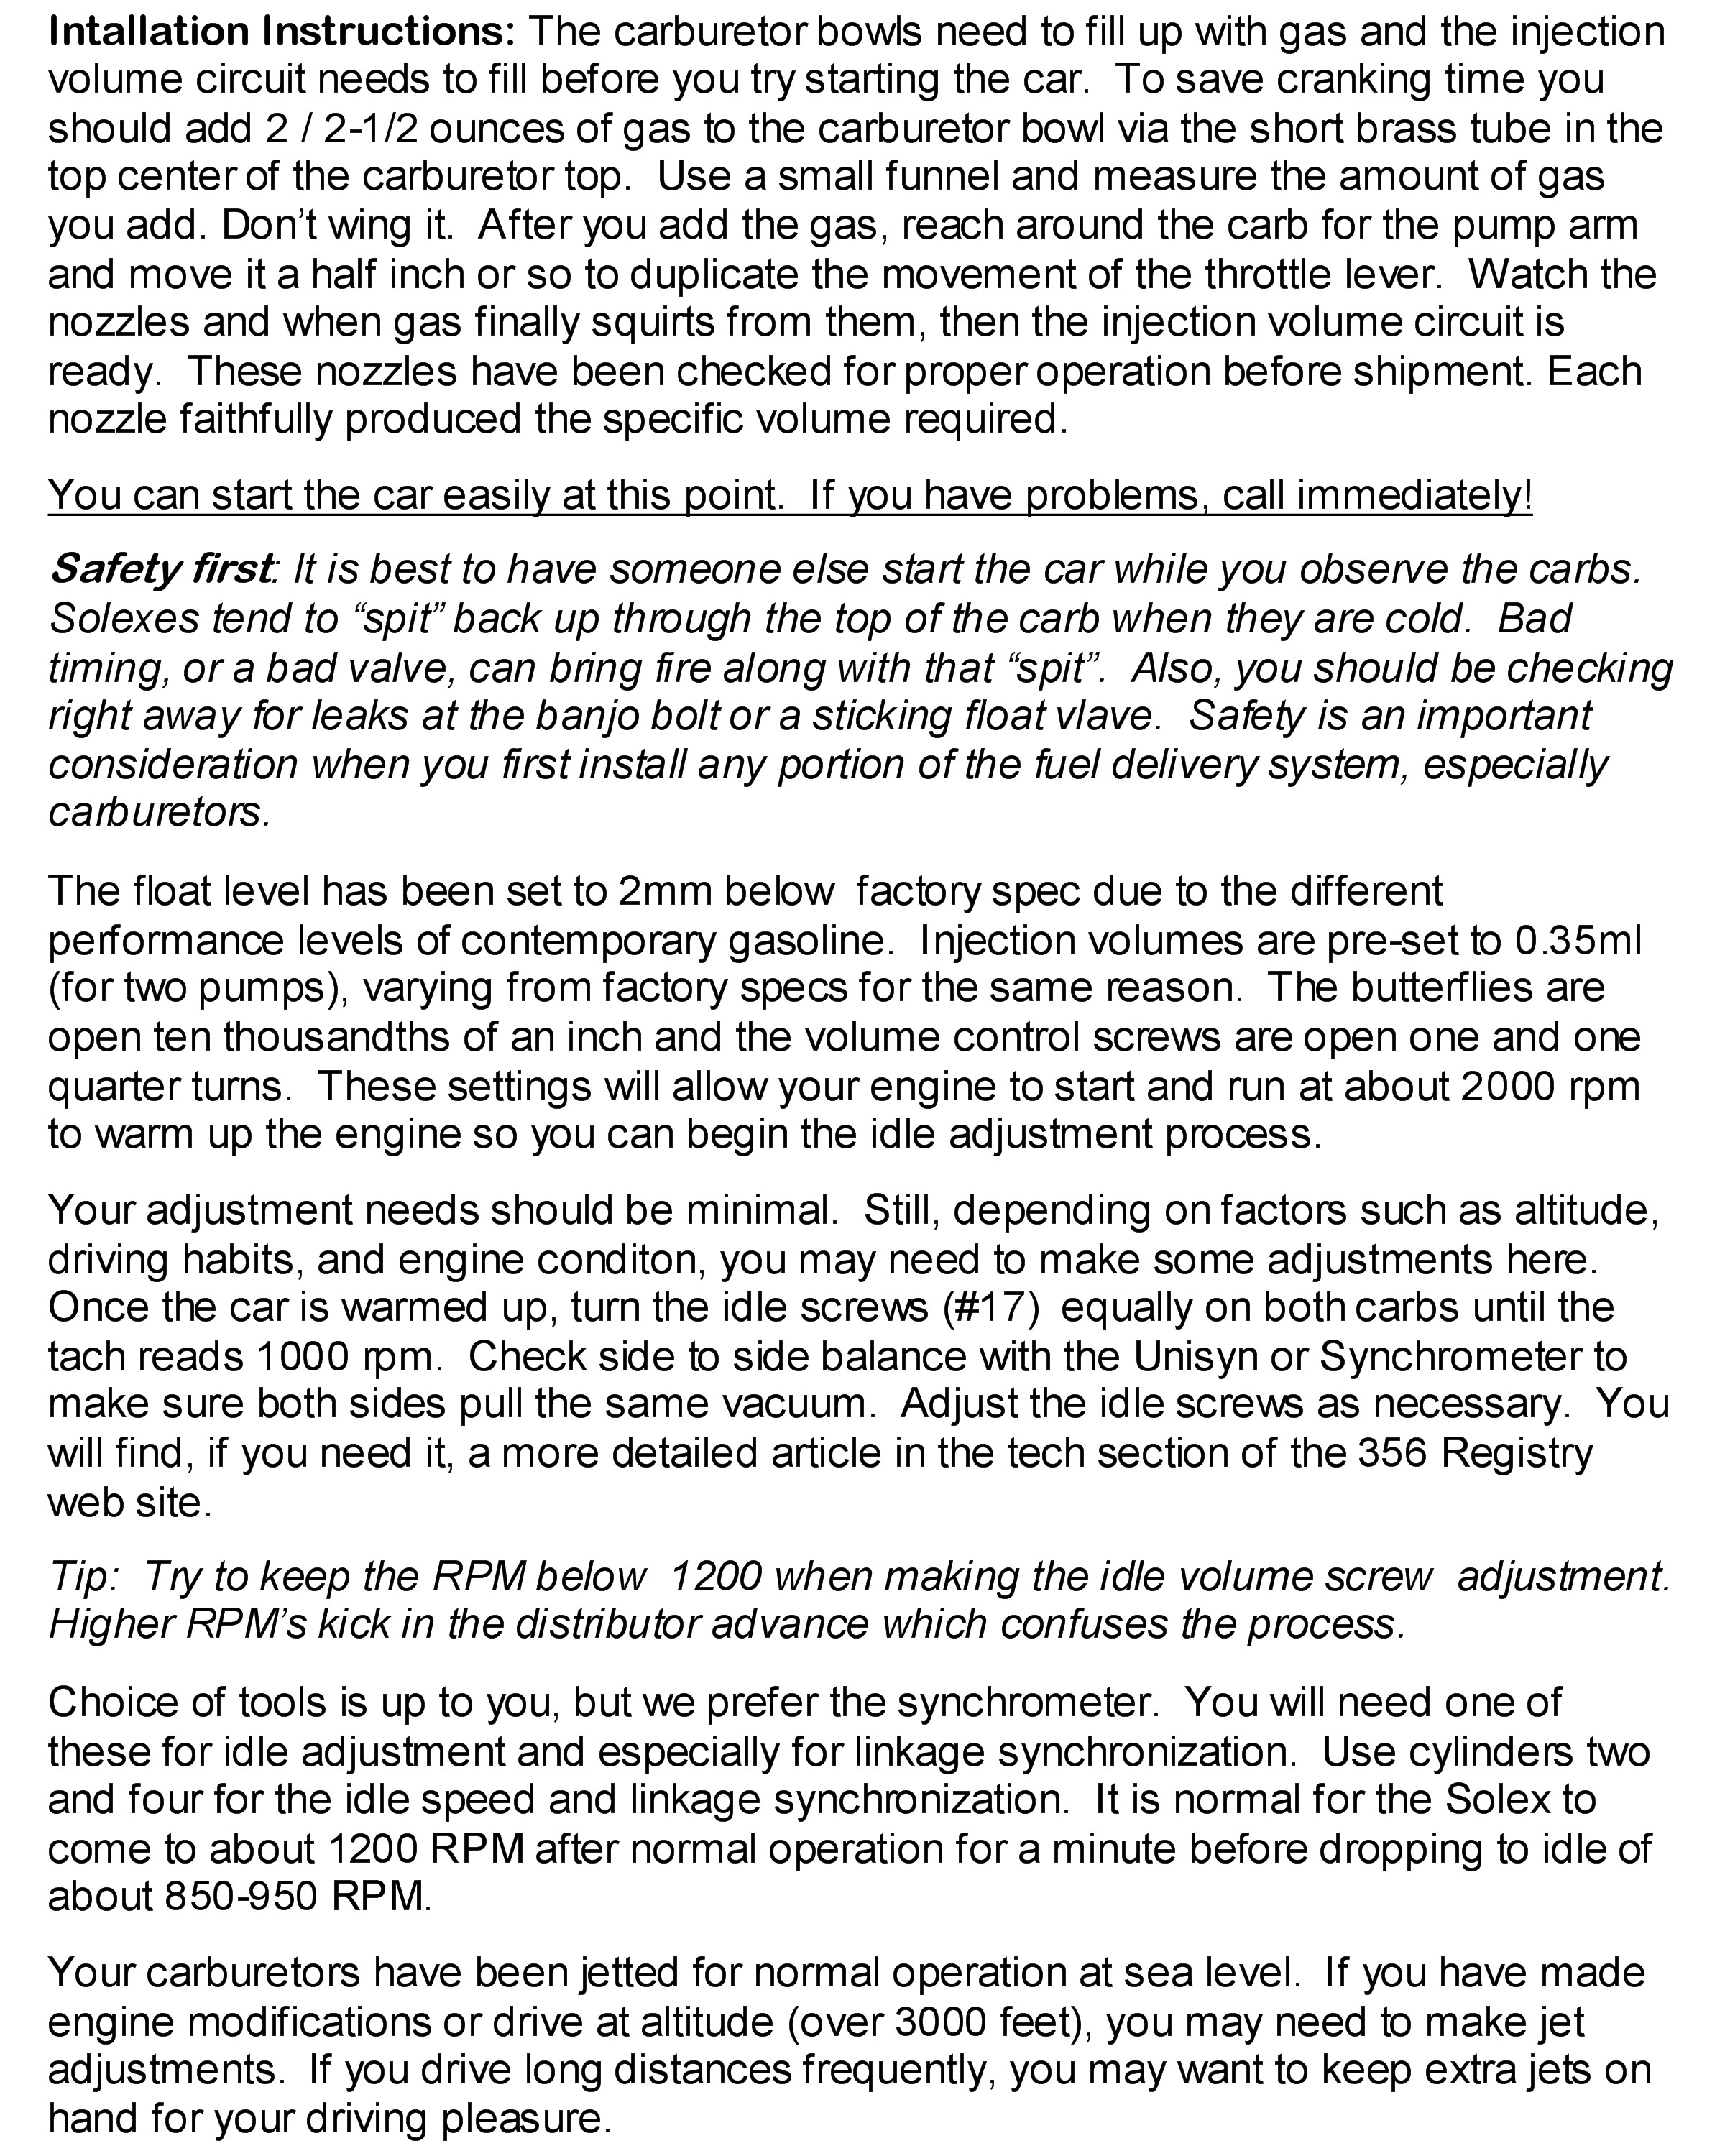
Solex Installation Instructions
Solex
356 Carburetor Rescue is not affiliated with and/or endorsed in any way by PCNA or Dr.Ing. h.c.F. Porsche AG
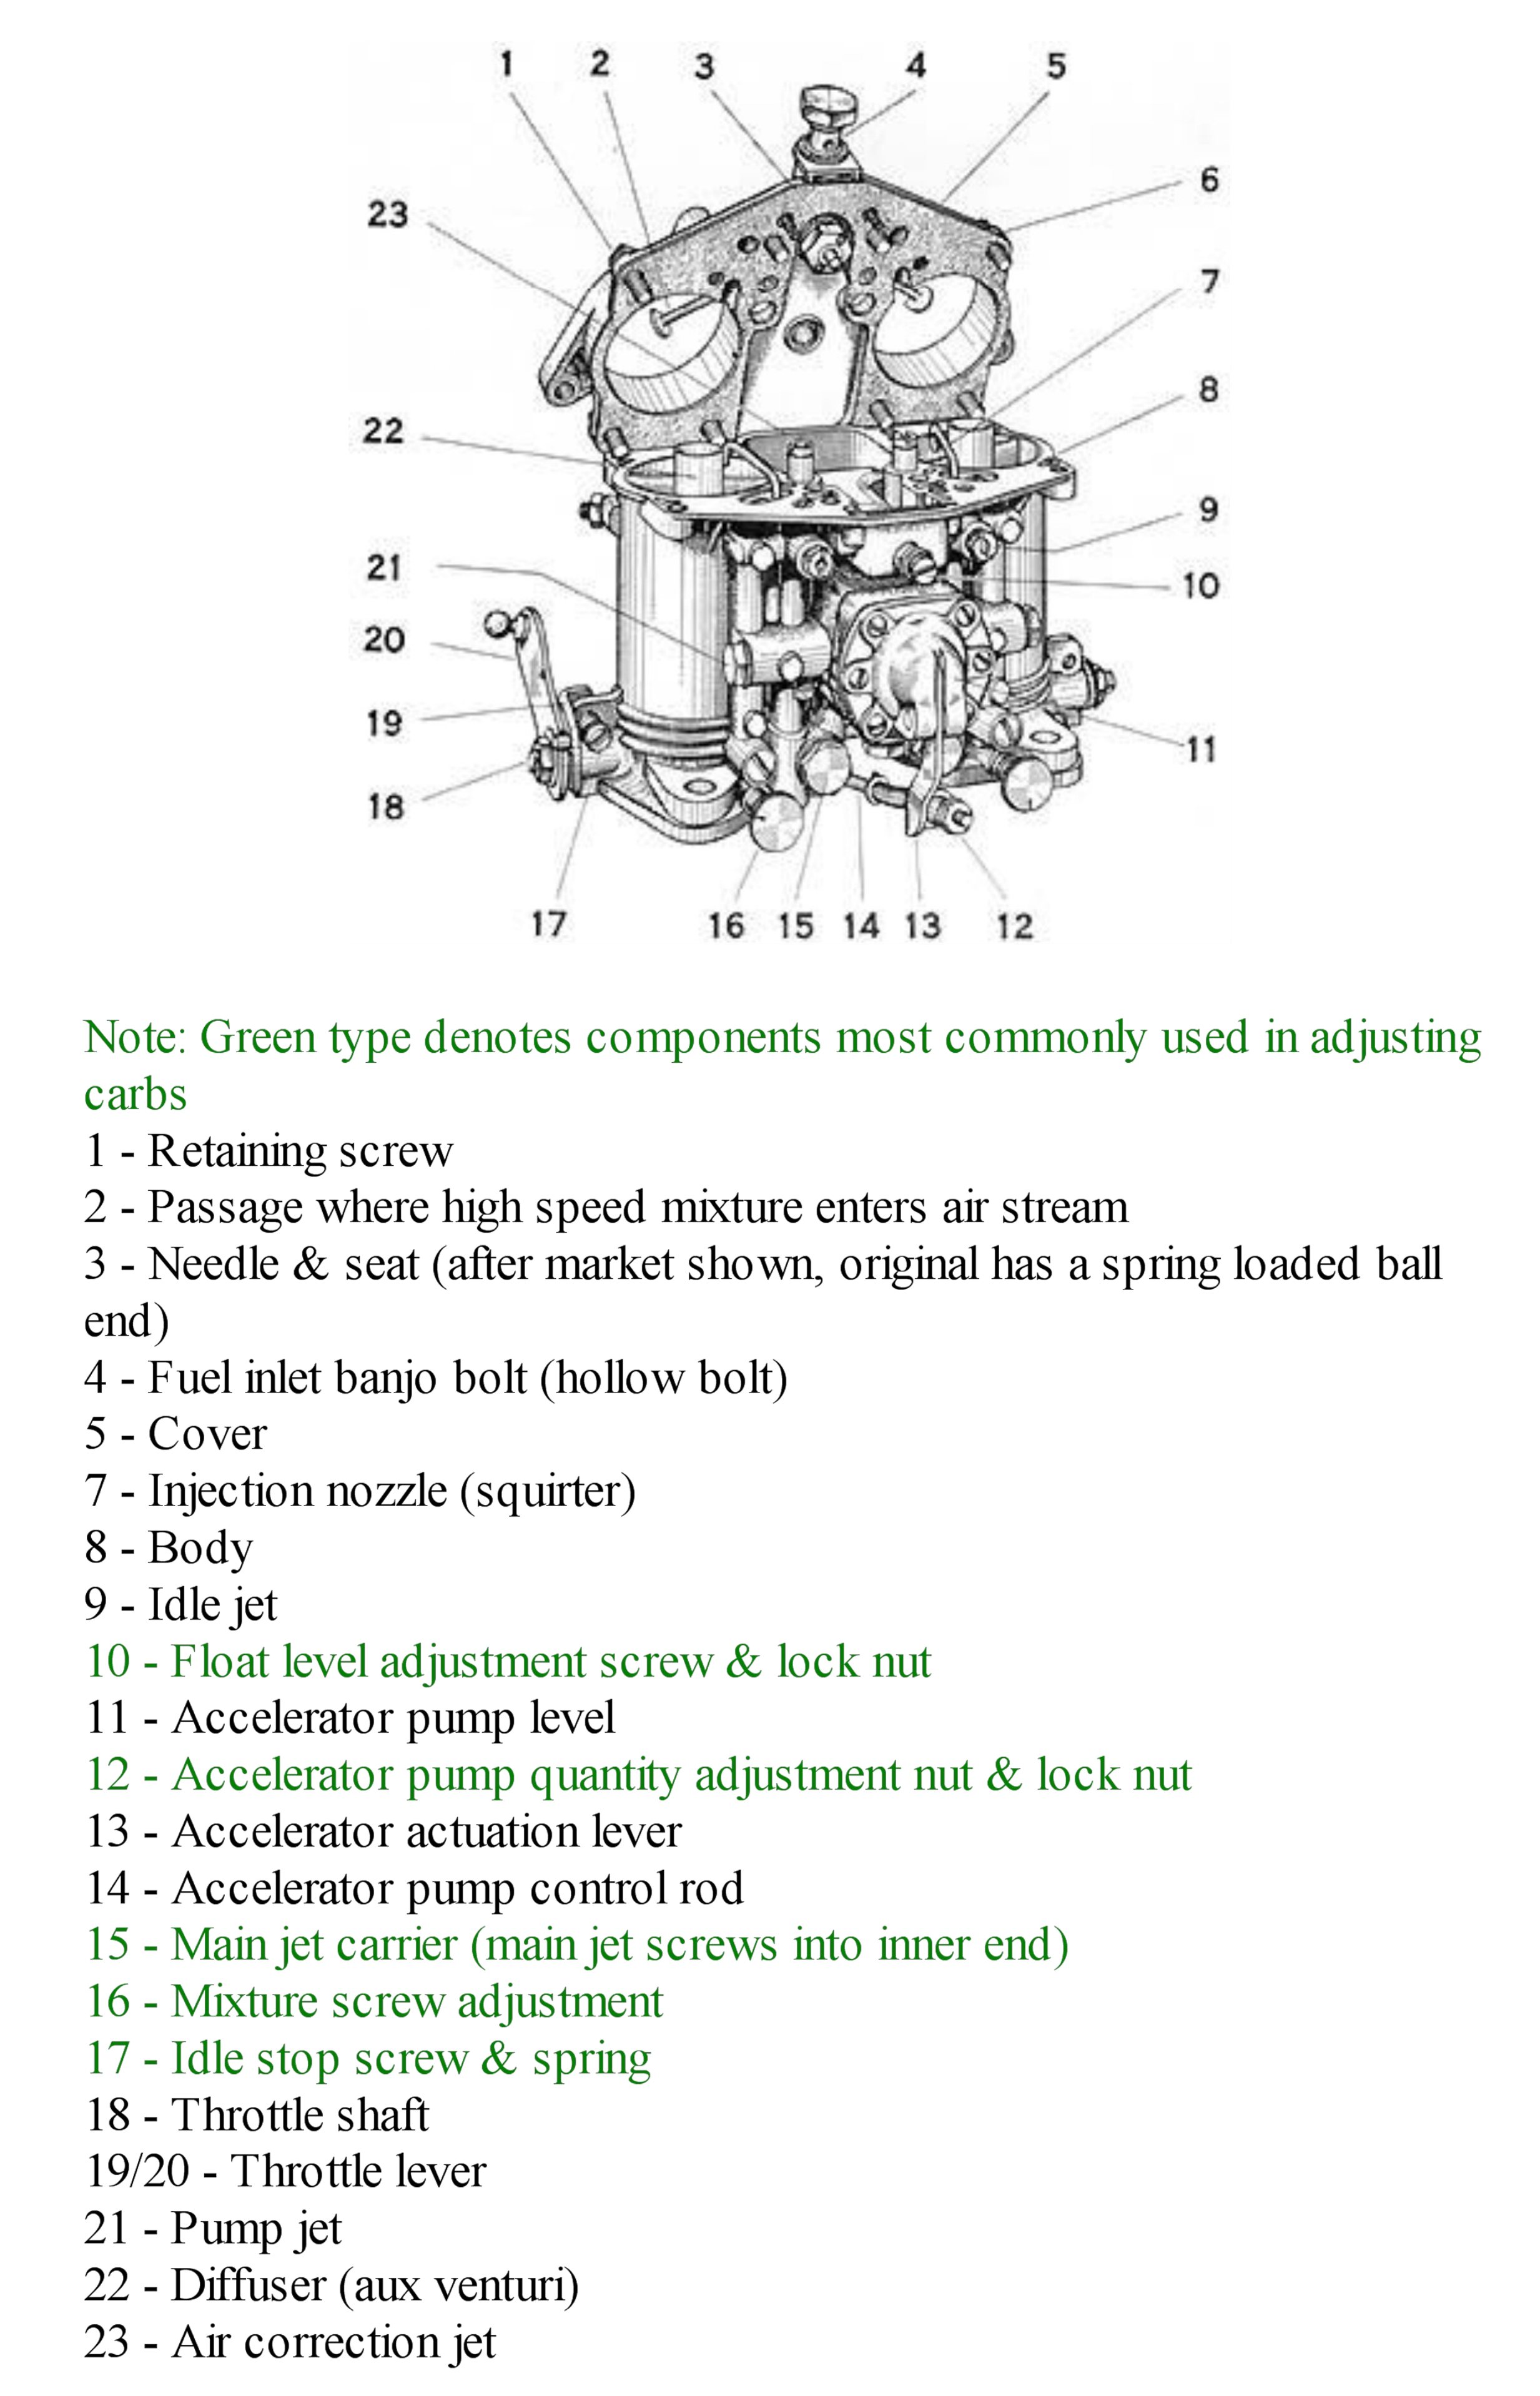
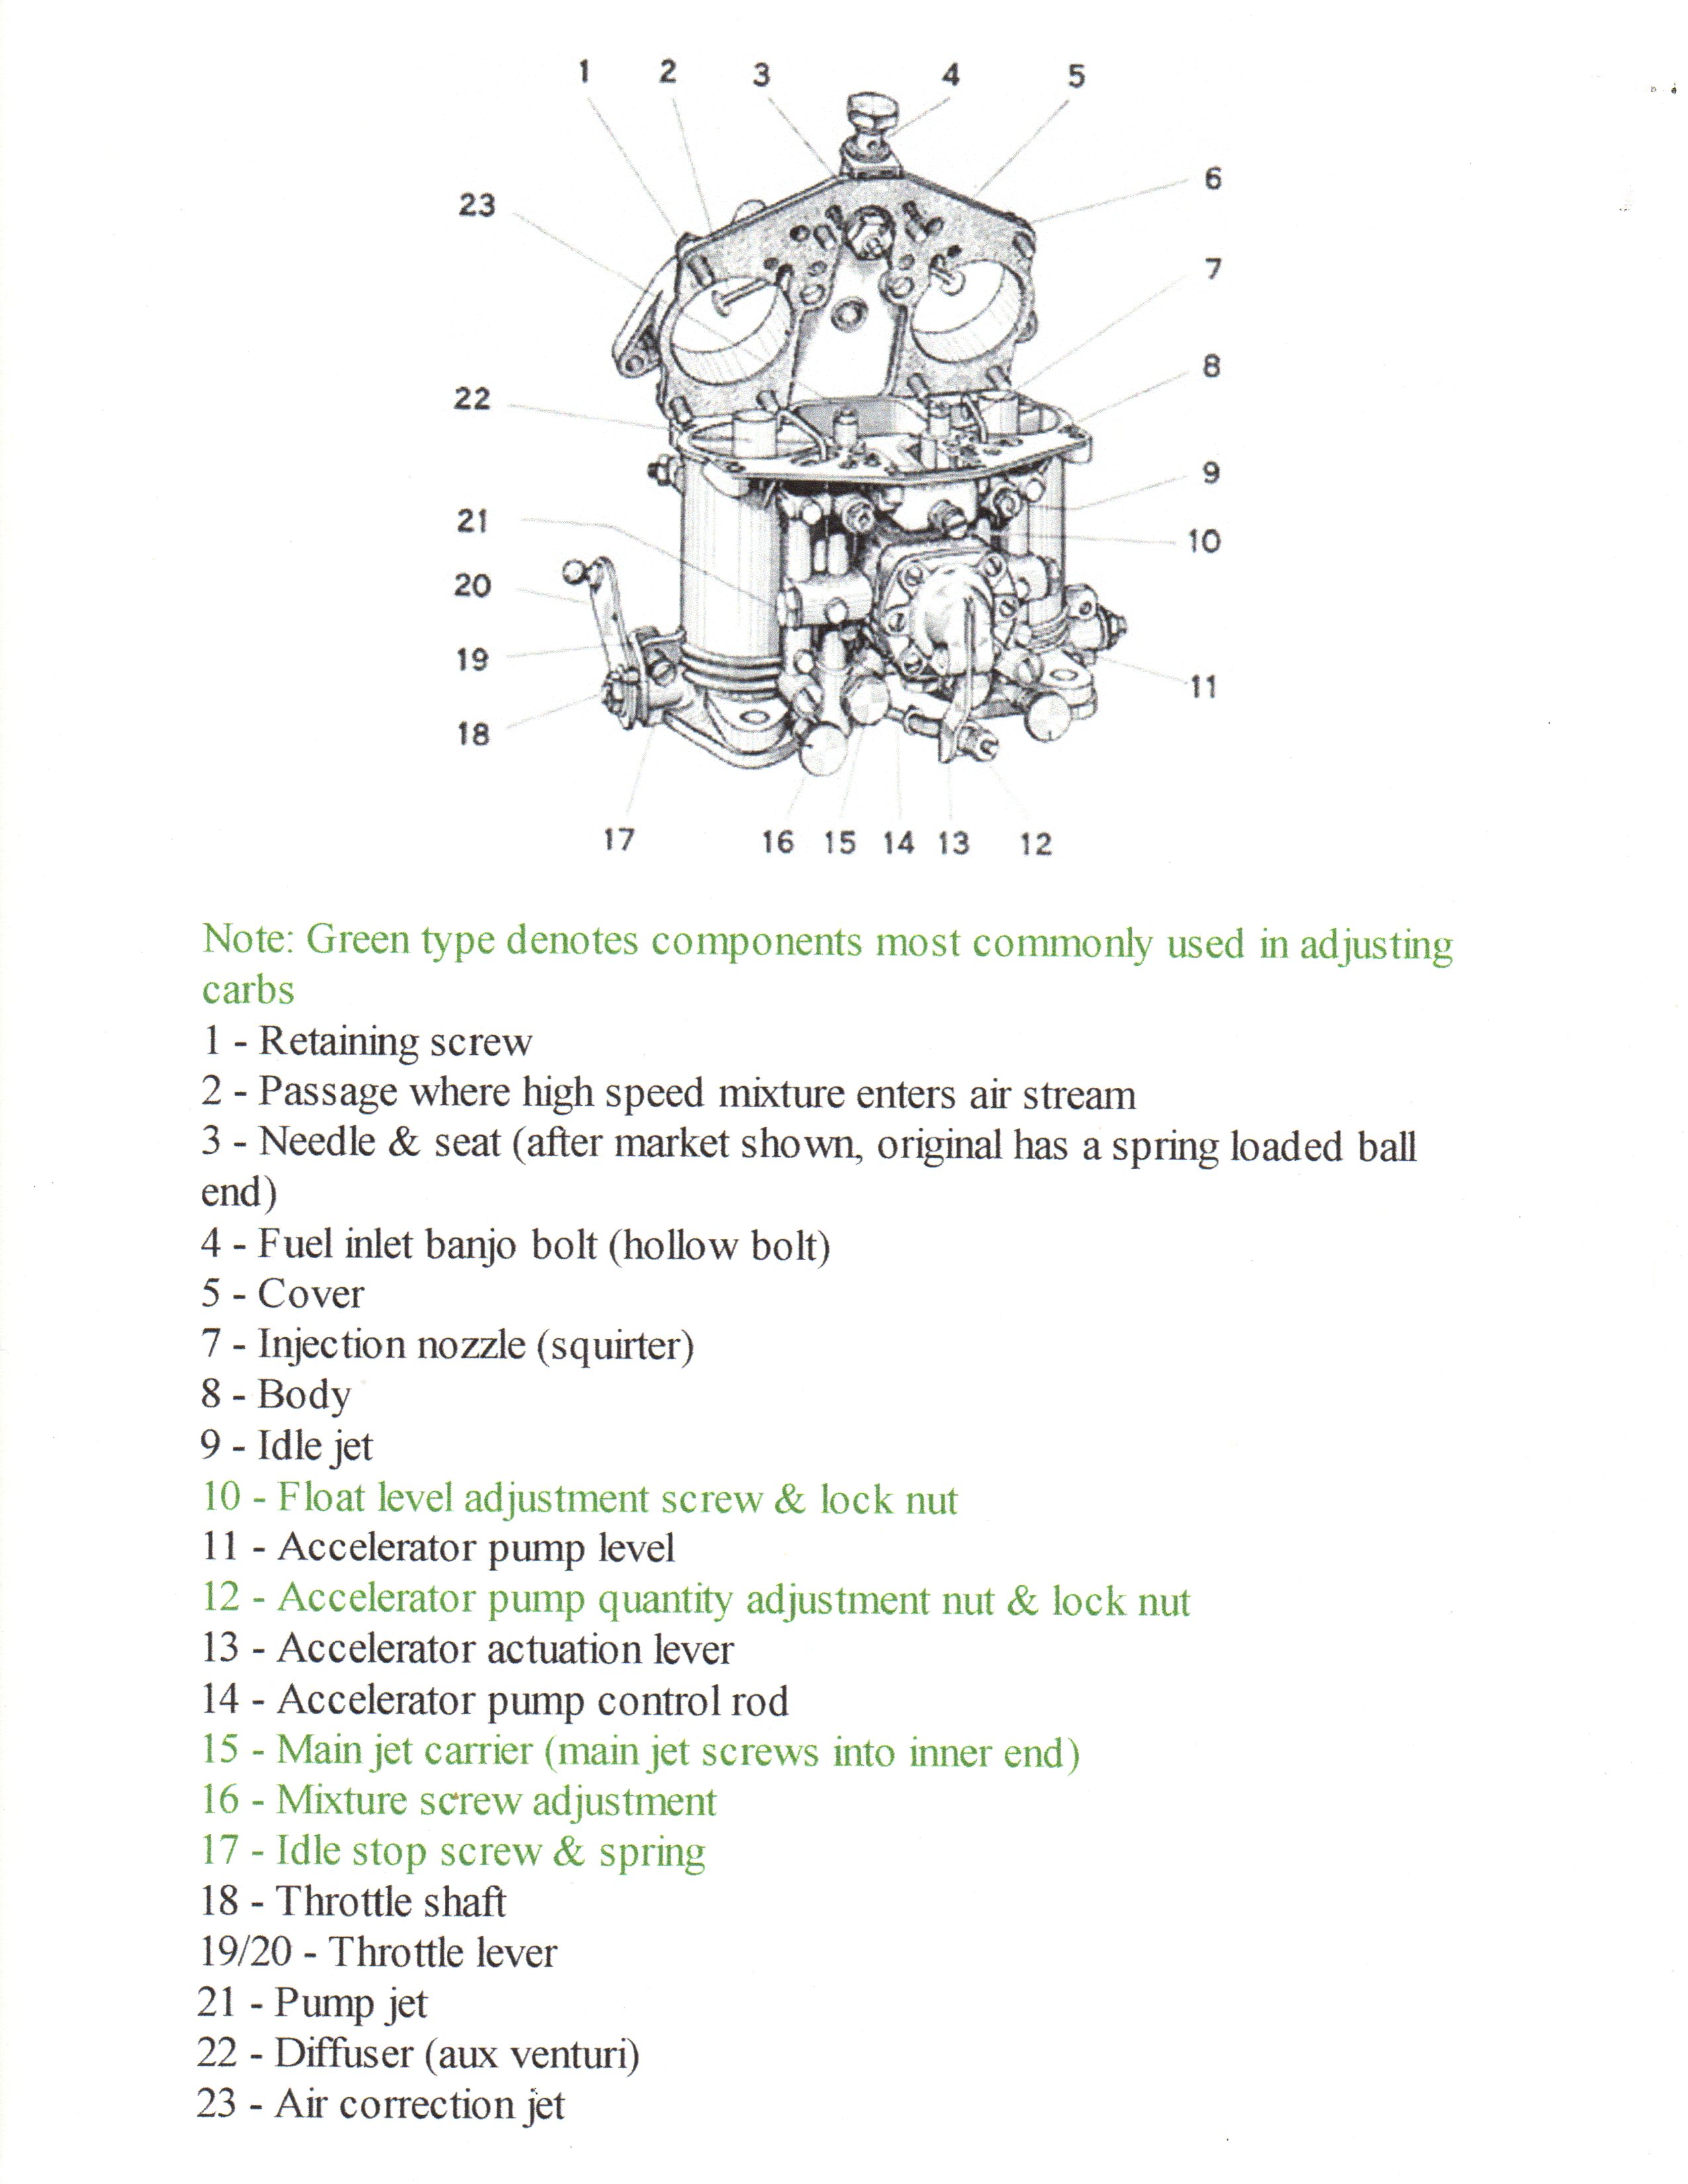
Solex diagram - click to enlarge
Duane Spencer had been kind enough to allow us to use excerpts from his book "Porsche 356, Performance Guide", to augment these instructions. Please use this link to be collected to Duane's information about setting the accelerator pump and the idle. you can also link here to Jack Stagg's article on carburetor balance and engine tuning.
This information is provided here for your reference, and will also be included with your newly restored carbs. All restored carburetors have had their float levels and injection set, as well as been synchronized for air flow. Most find them to be "bolt and go" with only minor adjustments of the volume control screws. Should you find you need more than this simple adjustment please CALL US FIRST. It is easier to diagnose a situation if we know the starting point. Thank you.
0
how to adjust float level!
Setting Solex Float Levels
Before the carburetors leave here, float levels and injection are set. As noted elsewhere, float levels are set 2mm below factory spec to off set changes in fuel formulations. When you get your carbs on the car, you may find they are still running a little rich overall (in rare cases, lean). First, check your fuel pressure off the pump. If over 3psi, adjust that with the use of shims, or what ever is necessary for the type of fuel pump you have. Should the fuel pump be fine, you can reduce the amount of fuel into the carburetors through an adjustment to the injection amount or by float level. The first, and easiest adjustment is to adjust your float level.
To adjust your float, loosen the 9mm nut (item 10 on the diagram), turn screw IN 1/2 turn, tighten nut, repeat on other side**. Test drive the car. If improved, but still running rich **, repeat, turning the screw in 1/4 turn. sometimes, you can accomplish the same result by putting an extra shim under your float needle valve.
Reverse is true if running lean, turn out to raise float level and increase fuel in carburetor.
(re)Setting your float levels. If you are trying to establish a base line for your own rebuilt carburetors, Jim suggests taking off the top completely and then measuring the height of your fuel. His recommendation is that it should be 2mm BELOW the straight level bottom of the site bolt.
You can also try adjusting the injection amount by the pump rod. Loosen the two nuts, move them in to increase the injection, move them out to decrease. after setting the pump you have to measure the injection on both sides and then do the same so injection is equal on both carbs.
** should there be an indication at start up that float is not functioning; or the above instructions make no change, check the following: remove top and look at how the float is sitting in the carburetor. Sometimes the support bracket comes loose letting the float shift and then it gets stuck and no longer "floats". If this is the case, adjust as needed. Possibly the float has failed. Modern fuels are taking a toll on the phenolic floats of Solex. As there are no new floats being made, we have to reuse old ones and can never tell when that float will fail.
When we ship the carburetors, they are standing up, but float packages get tossed about in transit. If floats seem to be an immediate problem, shake the carburetor and listen for it moving freely. If not, call us for guidance in opening carburetors to reset the float.
Tuning And Altitude Adjustments
The Tuning information will be helpful if your carburetors are in good working order. It will help you understand the workings of your carbs, and make things like altitude and performance adjustments easier. If you cannot tune your carbs with this information, or with that provided in our installation instructions, give us a call.
If you are looking at this to adjust your newly delivered carbs Please call us first! The only adjustments you should have to make on freshly restored carburetors should be minor and and only to conform to your specific engine requirements.
Make sure your electrical system is healthy and the distributor works properly. Many times a faulty distributor will create symptoms that mimic carburetor issues. The advance should be working properly and there is no bouncing; that it always comes back to the same point. Do not let anyone try to convince you that a Petronix is the solution to a faulty distributor if you have a six volt vehicle!
You will also want to have either a Synchromiter or Unisyn as part of your tool box. We find the synchromoter to be a little easier to work with and they are usually available on Ebay or The Samba. Sometimes you will have to use a little duct tape to get a tight fit with the top of your carburetor.
Carburetors work by creating a proper ratio of gasoline to air mixture. When new, or when purchased as restored, they are set to operate at sea level (unless requested otherwise). Jetting is done according to original manufacturer specifications with appropriate adjustments for modern fuel mixtures. If your car gets a big bore kit, the cam is replaced, you drive at a substantially different altitude level (1000 meters / 3200 feet or more) you will note changes in engine performance. Any of these changes may require adjusting of jets to get the ratio of gasoline to air mixture back in balance.
Tuning your carbs. Restored carburetors from 356 Carburetor Rescue should need little adjusting, many say they are just bolt and go. But as all engines are not equal after all these years, some adjustments may be necessary. Zeniths need a little time for the leather skirt on the pump to absorb gas, so please allow for this.
Make sure your carburetors are installed correctly, and start up your car. Check for air or fuel leaks. Adjust the throttle screws so the engine is idling at just under 1000rpm. Use the synchrometer (preferred by many over the Unisyn) as you adjust the throttle screws to get equal draw and keep the RPMs between 800 & 900 (we have done this as part of the restoration process, but again, you may have to make adjustments to suite your engines performance). If you need to, adjust your volume control screws (per detailed instructions for Zeniths and Solexes) to get an even idling engine. You will find more information on tuning Solex in this excerpt from Duane Spencer's book.
Check your spark plugs. The plugs will tell you how the combustion chamber is burning fuel, so you can make proper adjustments. Since an idling engine will almost always run rich, your plugs should be dark from the initial idle set up process. Before making any other adjustments, drive the car about 20 miles. For the best results, turn off your engine and coast to a stop. As this is not always possible, shut off your ignition IMMEDIATELY when you stop. When cool enough, check the spark plugs and compare to how they looked at start up.
The general parameters for judging are: black and/or wet equates to a rich running engine, brown is right and grey/white is lean. If all plugs are the same, and no amount of adjustment corrects the situation, fuel input needs to be adjusted through pump volume, float level, or resizing jets. When individual plugs vary, one from the other, you adjust the appropriate volume control setting - turning them in if the plugs are black, out if running lean. Each time you make adjustments, do the drive and check the plugs again.If you are still having problems CALL US
If the problem is cylinder specific, and jet adjustments have not solved the problem, do a leak down and compression test. See your mechanic for any further assistance.
Altitude adjustments
For anyone who has driven their car to a holiday, over long distances, or lives at anything much over sea level; altitude and jet sizing is an ongoing subject. There are formulas, for those so inclined. The workshop manual provides recommendations. Articles have been written. The following is a good rule of thumb to start your adjustment process, and comes from the workshop manual.
The truth is, after 50 or so years of use, engines have developed their own indiosyncrocies, fuels have changed, and/or there are have been engine modifications made. So there is no one size fits all answer. The final jetting set up for each car is determined through trial and error, although some guidelines, such as the jetting note above, give a starting point.
First, why are changes necessary? Carburetors are set for sea level performance (up to 4000 feet altitude) and have the proper fuel:air mixture established. As you increase altitude, the actual density of the air decreases. There is less oxygen available and the fuel:air ratio is changed. There is too much fuel / too little air. So jetting has to be adjusted to bring back the proper ratio. If the altitude change is temporary, you might choose to let it be, or just make adjustments in your volume control screws. But if the altitude change is great enough, or the time spent at altitude is long enough, you may want to swap out your jets.
When carburetors are tuned for altitude driving and then brought down in altitude, the opposite happens due to denser air.
Is the car running too rich, or too lean? Unburned gasoline will leave sooty deposits in your tailpipe, turn your spark plugs black and cause popping in the carbs and backfiring through the exhaust. When lean, the spark plugs will be light grey or white, carbs will spit back, and the car will run hot.
Slight changes in elevation are accomplished by adjusting the volume control screws; Turn in if running rich, turn out if running lean. Volume control screw adjustments less than 1 turn can mean the need for a smaller jet size. A general recommendation is a change of 0.05mm for every 3000 feet of altitude change.
If carburetors are still running too rich, adjust the idle screws. If it is necessary to turn the screws much over 1-1/2 turns, then replace the idle jets also.
When driving in varying altitude conditions, it is probably better to run the engine a little rich. An engine running on the rich side will run cooler, while one running lean could get dangerously hot.
If traveling to another altitude for any extent of time, as in a vacation or Registry Holiday, a change in main jet size should be considered. Main jets are relatively easy to change. If plugs are fouling, and there is no chance to change jets, be prepared to replace the plugs regularly on the trip.
And when ever in doubt, please consult with your mechanic or give Carburetor Rescue a call!
Tuning and Altitude adjustments
Main jet metering is of great imortance when operating at considerably varying altitudes for which the following rule-of-thumb may be applied: change main jet calibration by 6% for each 1,000m (3280') altitude variation. For example,( if ) normal main jet calibration at an altitude of 400m (1312') is 0115; proper jet size for an altitude of 1400m (4592') is 0110
Setting Butterflies In The Solex 40PII Throttle Body
Setting the butterflies in the throttle body - Solex 40PII Carburetors
When you receive your throttle bodies, included is a selection of shims for setting the shafts and butterflies properly. These shims are 0.1, 0.2, 0.3, and 0.5mm, two of each. special note, we have now started adding some of these shims to the shaft and synchronizing the butterflies. You will still have to follow the procedure for adding your end hardware and checking the airflow after final assembly.
We usually do throttle body work to include set up of throttle levers and throttle shaft hardware. This info will help if you are setting your own, or after a good cleaning and rebuild.
This procedure requires the use of the end of shaft hardware in your possession. We have found each set of hardware is a little different from the next, so this can only be done with your carburetor’s unique parts. First, mount hardware, with one of the shims, on the end of the shaft pointing towards the front of the car. Check for binding.
Open the butterflies slightly to check the clearance, then close tightly. Now loosen the butterfly screws, keeping the butterflies closed in the bore (they will slide out of place if not careful). Install a shim on the opposite end under your throttle arm and nut. We like to shoot for setting the shaft end play at 0.1mm on each end. Check this again with the butterflies open in the bore, moving the shaft back and forth. You are looking for 0.15 - 0.2mm total clearance. Proper end play will prevent the butterflies from gouging the body again. It might be necessary to repeat procedure between ends until you get the right combination of shims. There should be no binding once all is tightened. If there is any, loosen the hardware and install a smaller shim, as needed. Yes, it takes a long time to get it done right, even by the “experts”!
Then, check to make sure your butterflies are sitting properly in the bore. Tighten the screws holding the butterflies in place. Hold the carburetor up to the light, looking down the bore. There should be minimal light leakage around the edge of the butterfly; adjust if necessary. If you see too large a gap, you will have to loosen the butterfly screws again, turn the butterfly in the bore slightly left or right, closing that gap. Tighten screws and check with the light down the bore again. If you get this right, you won’t need a flow bench to check air volume of each throat. Be patient, its important for the smooth operation of your carburetor. Try to do your best, it can be frustrating to get everything aligned properly!
As a final check, to simulate engine temperature, put the carbs in an oven at 200 F, then check the shaft movement and butterfly fit. If there is binding, go back and check what is causing the problem; adjust if necessary.
Now you can proceed as with any other rebuild. There is a Solex parts diagrams, and work shop manual pages available if you need them.
Need help with installation?
Contact us for technical support and installation questions.